Melt & Pour Dinosar Soap

I’m excited to share this week’s activity. It is a fun way to let your child customize their own bar of soap and get them excited about bath time! Adding FUN to bath time is important – especially to kids who need a little encouragement to get into the tub. Also, this activitiy works on following directions, fine motor skills, and patience!
 
Executive function skills can be added by asking your child:
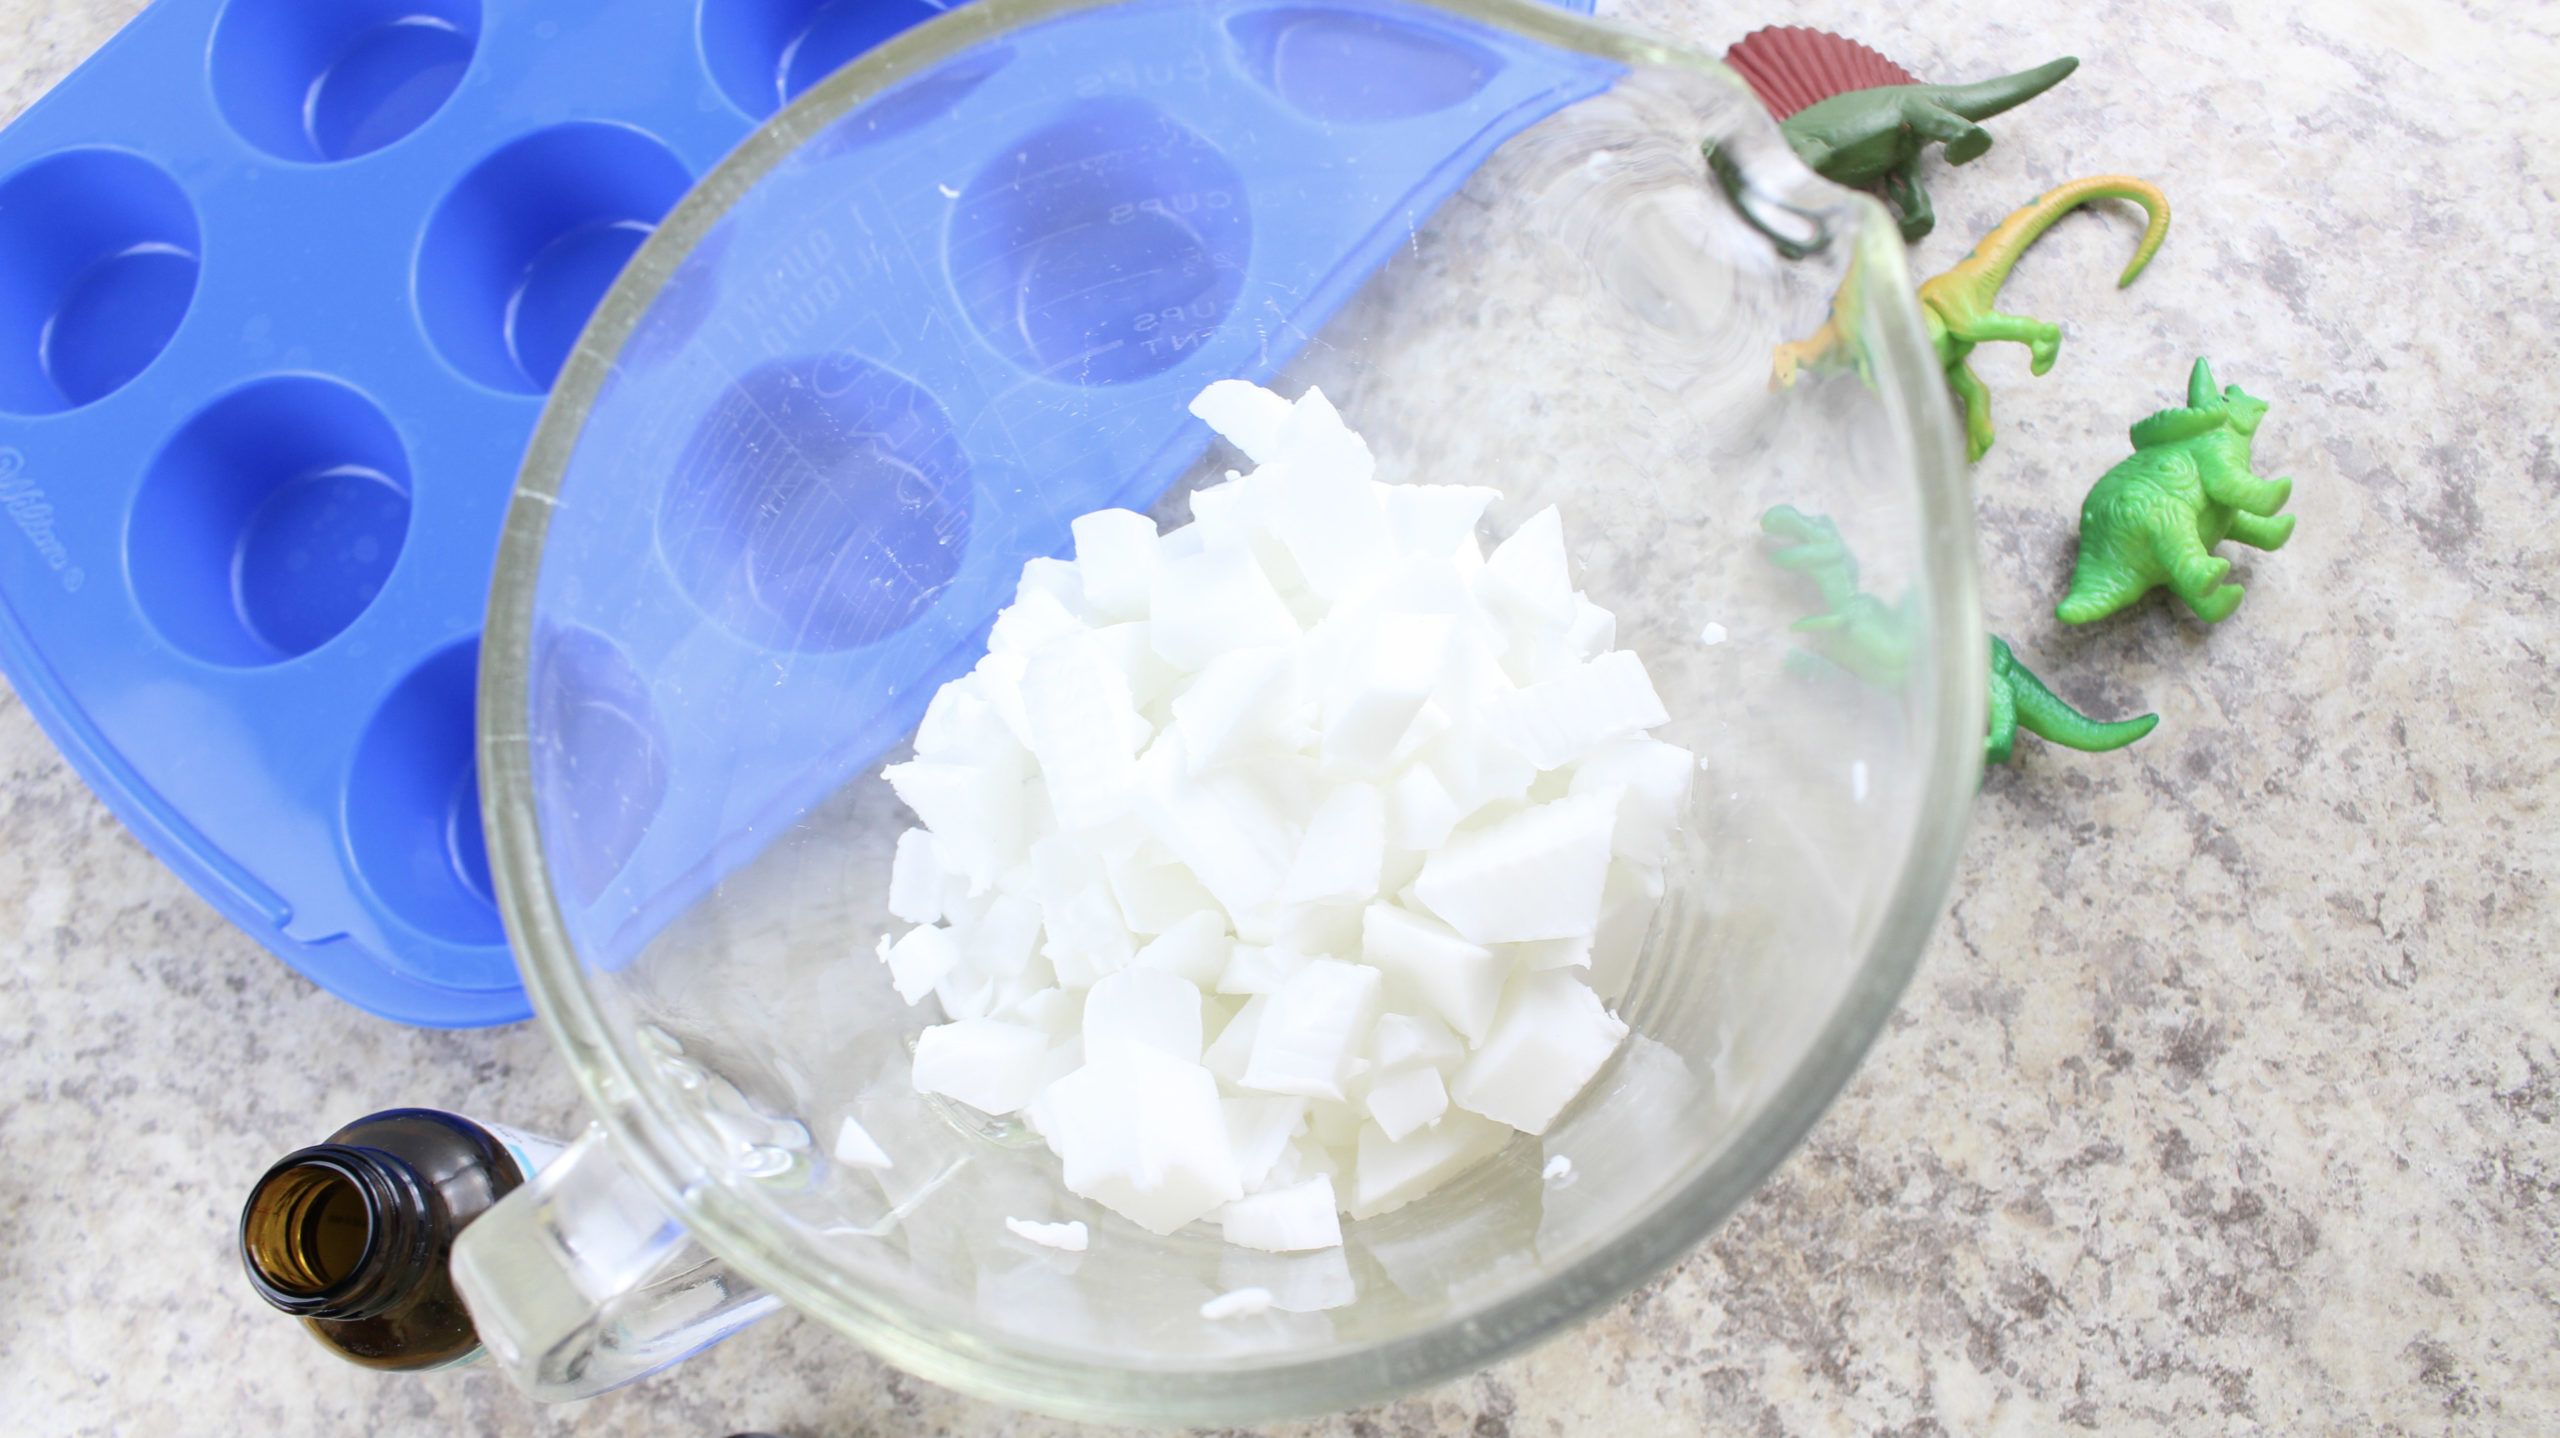
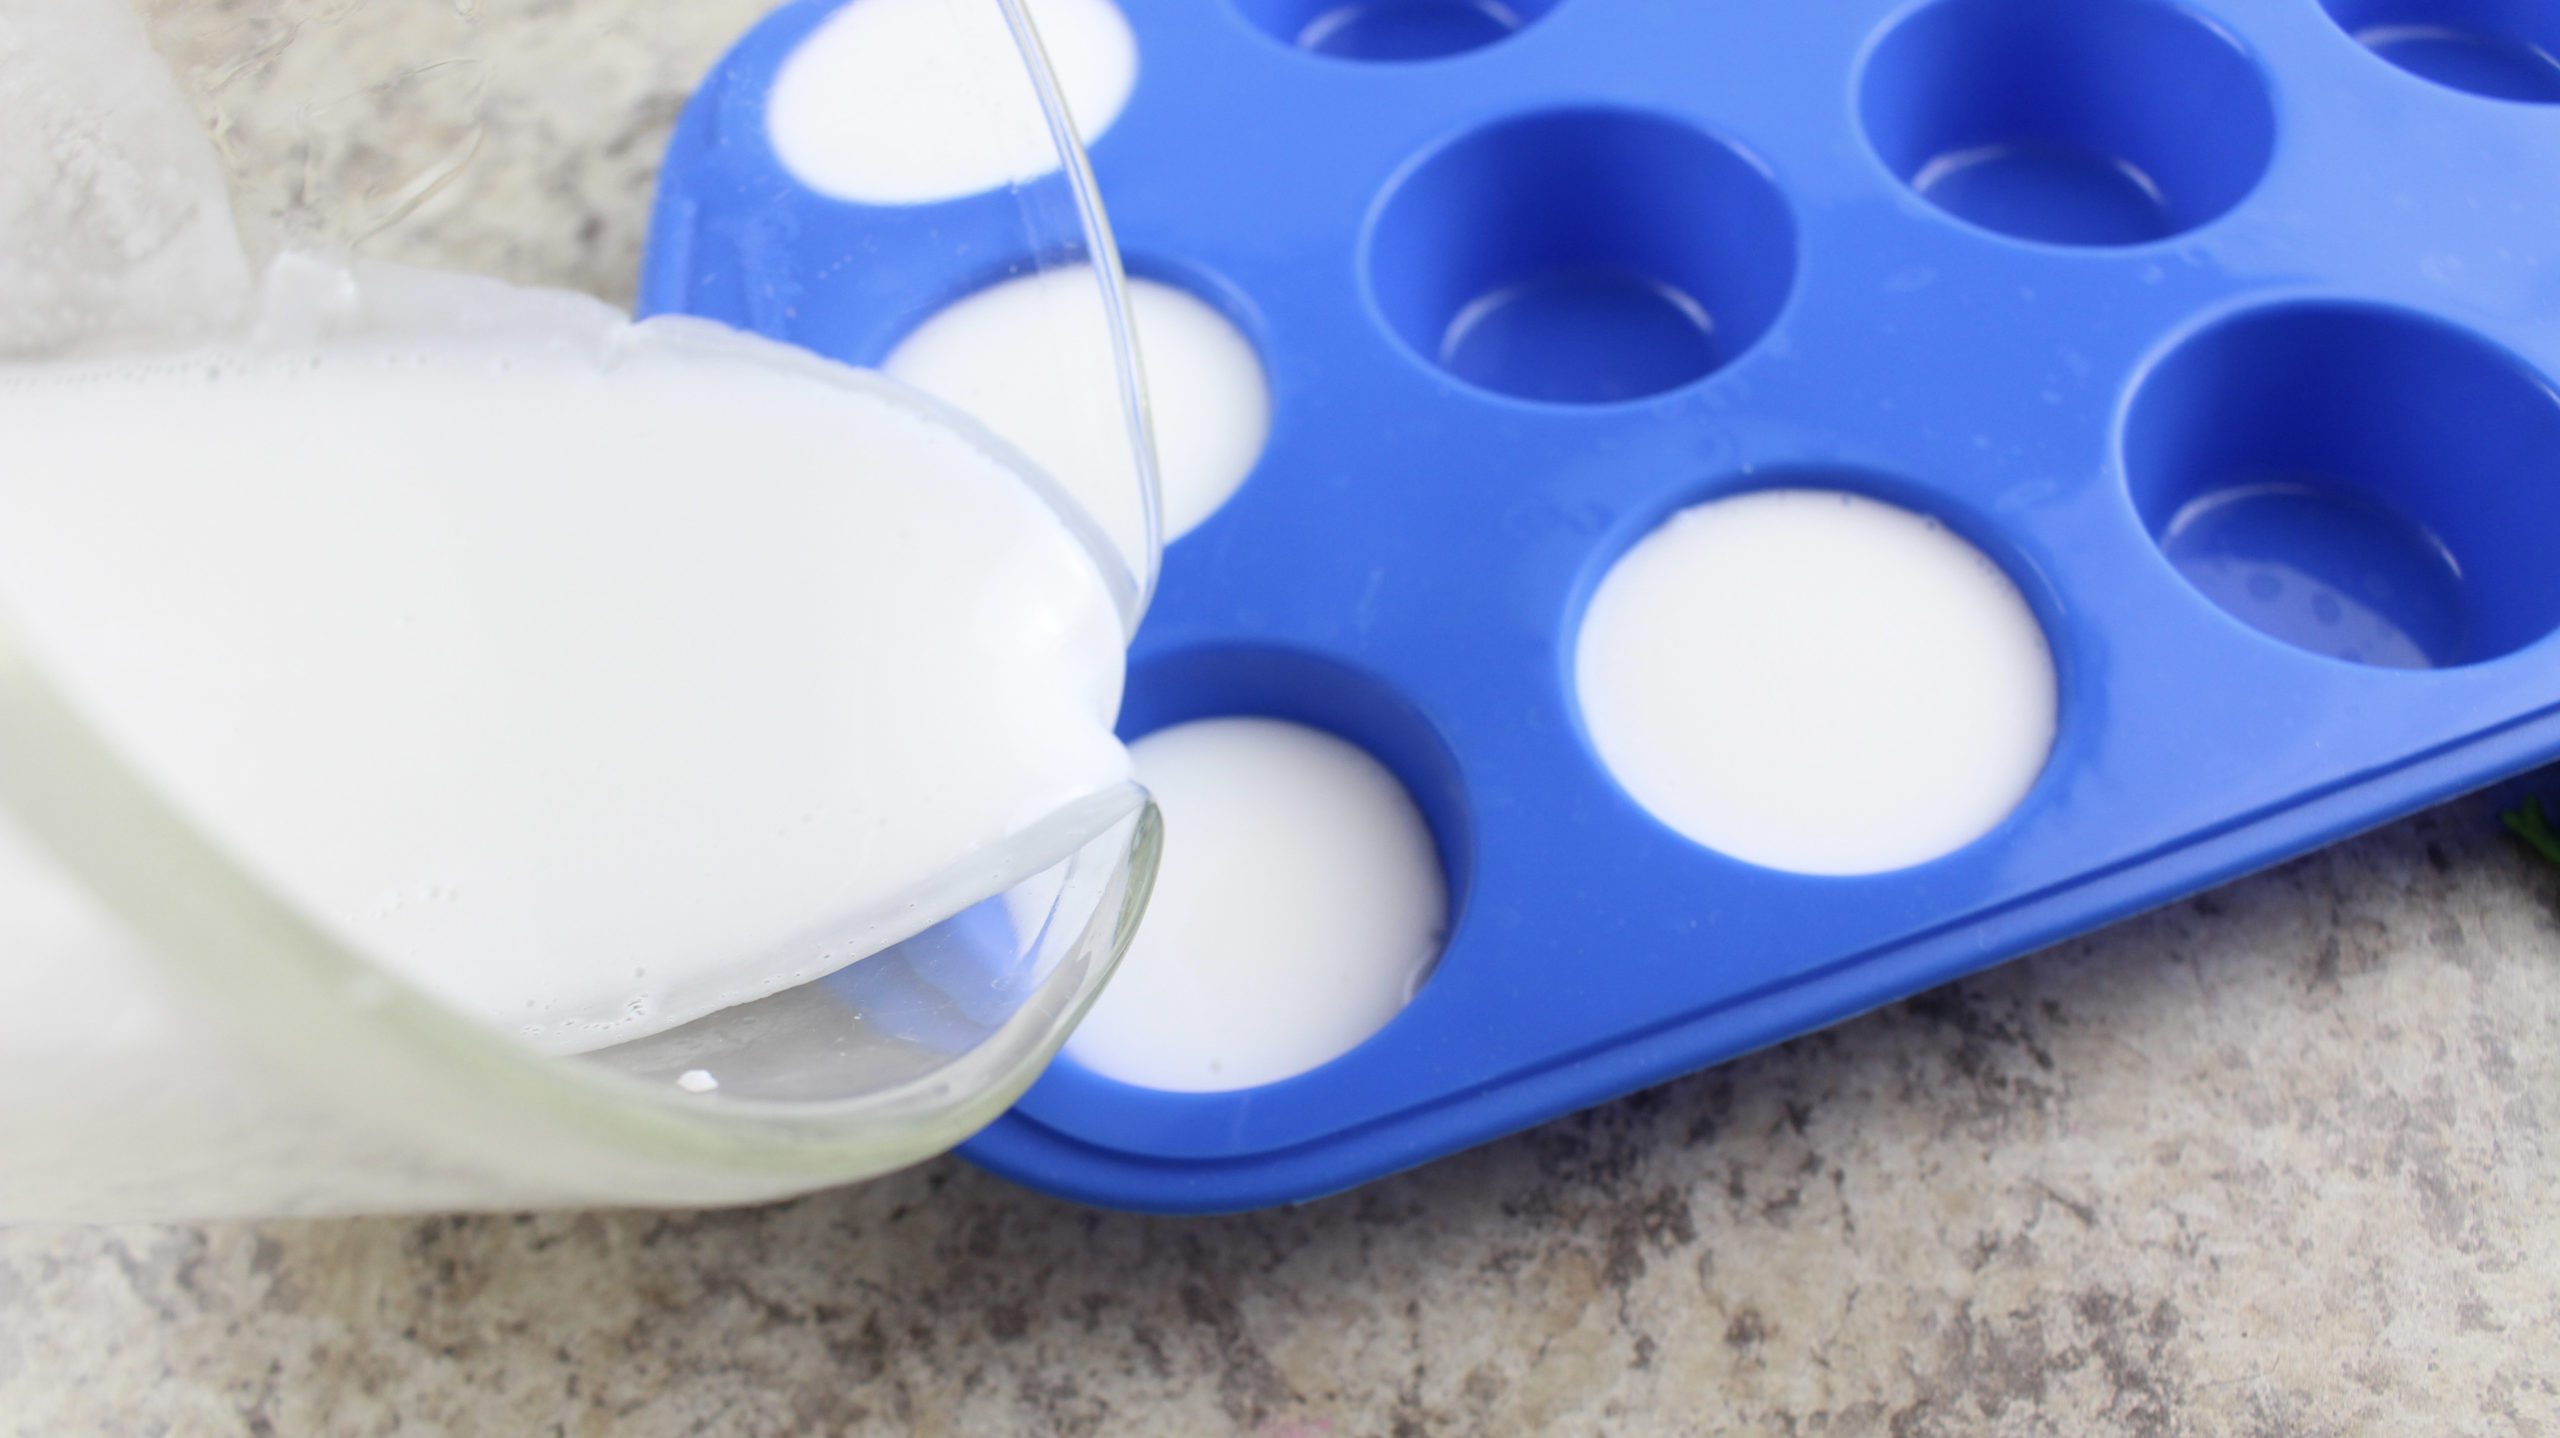
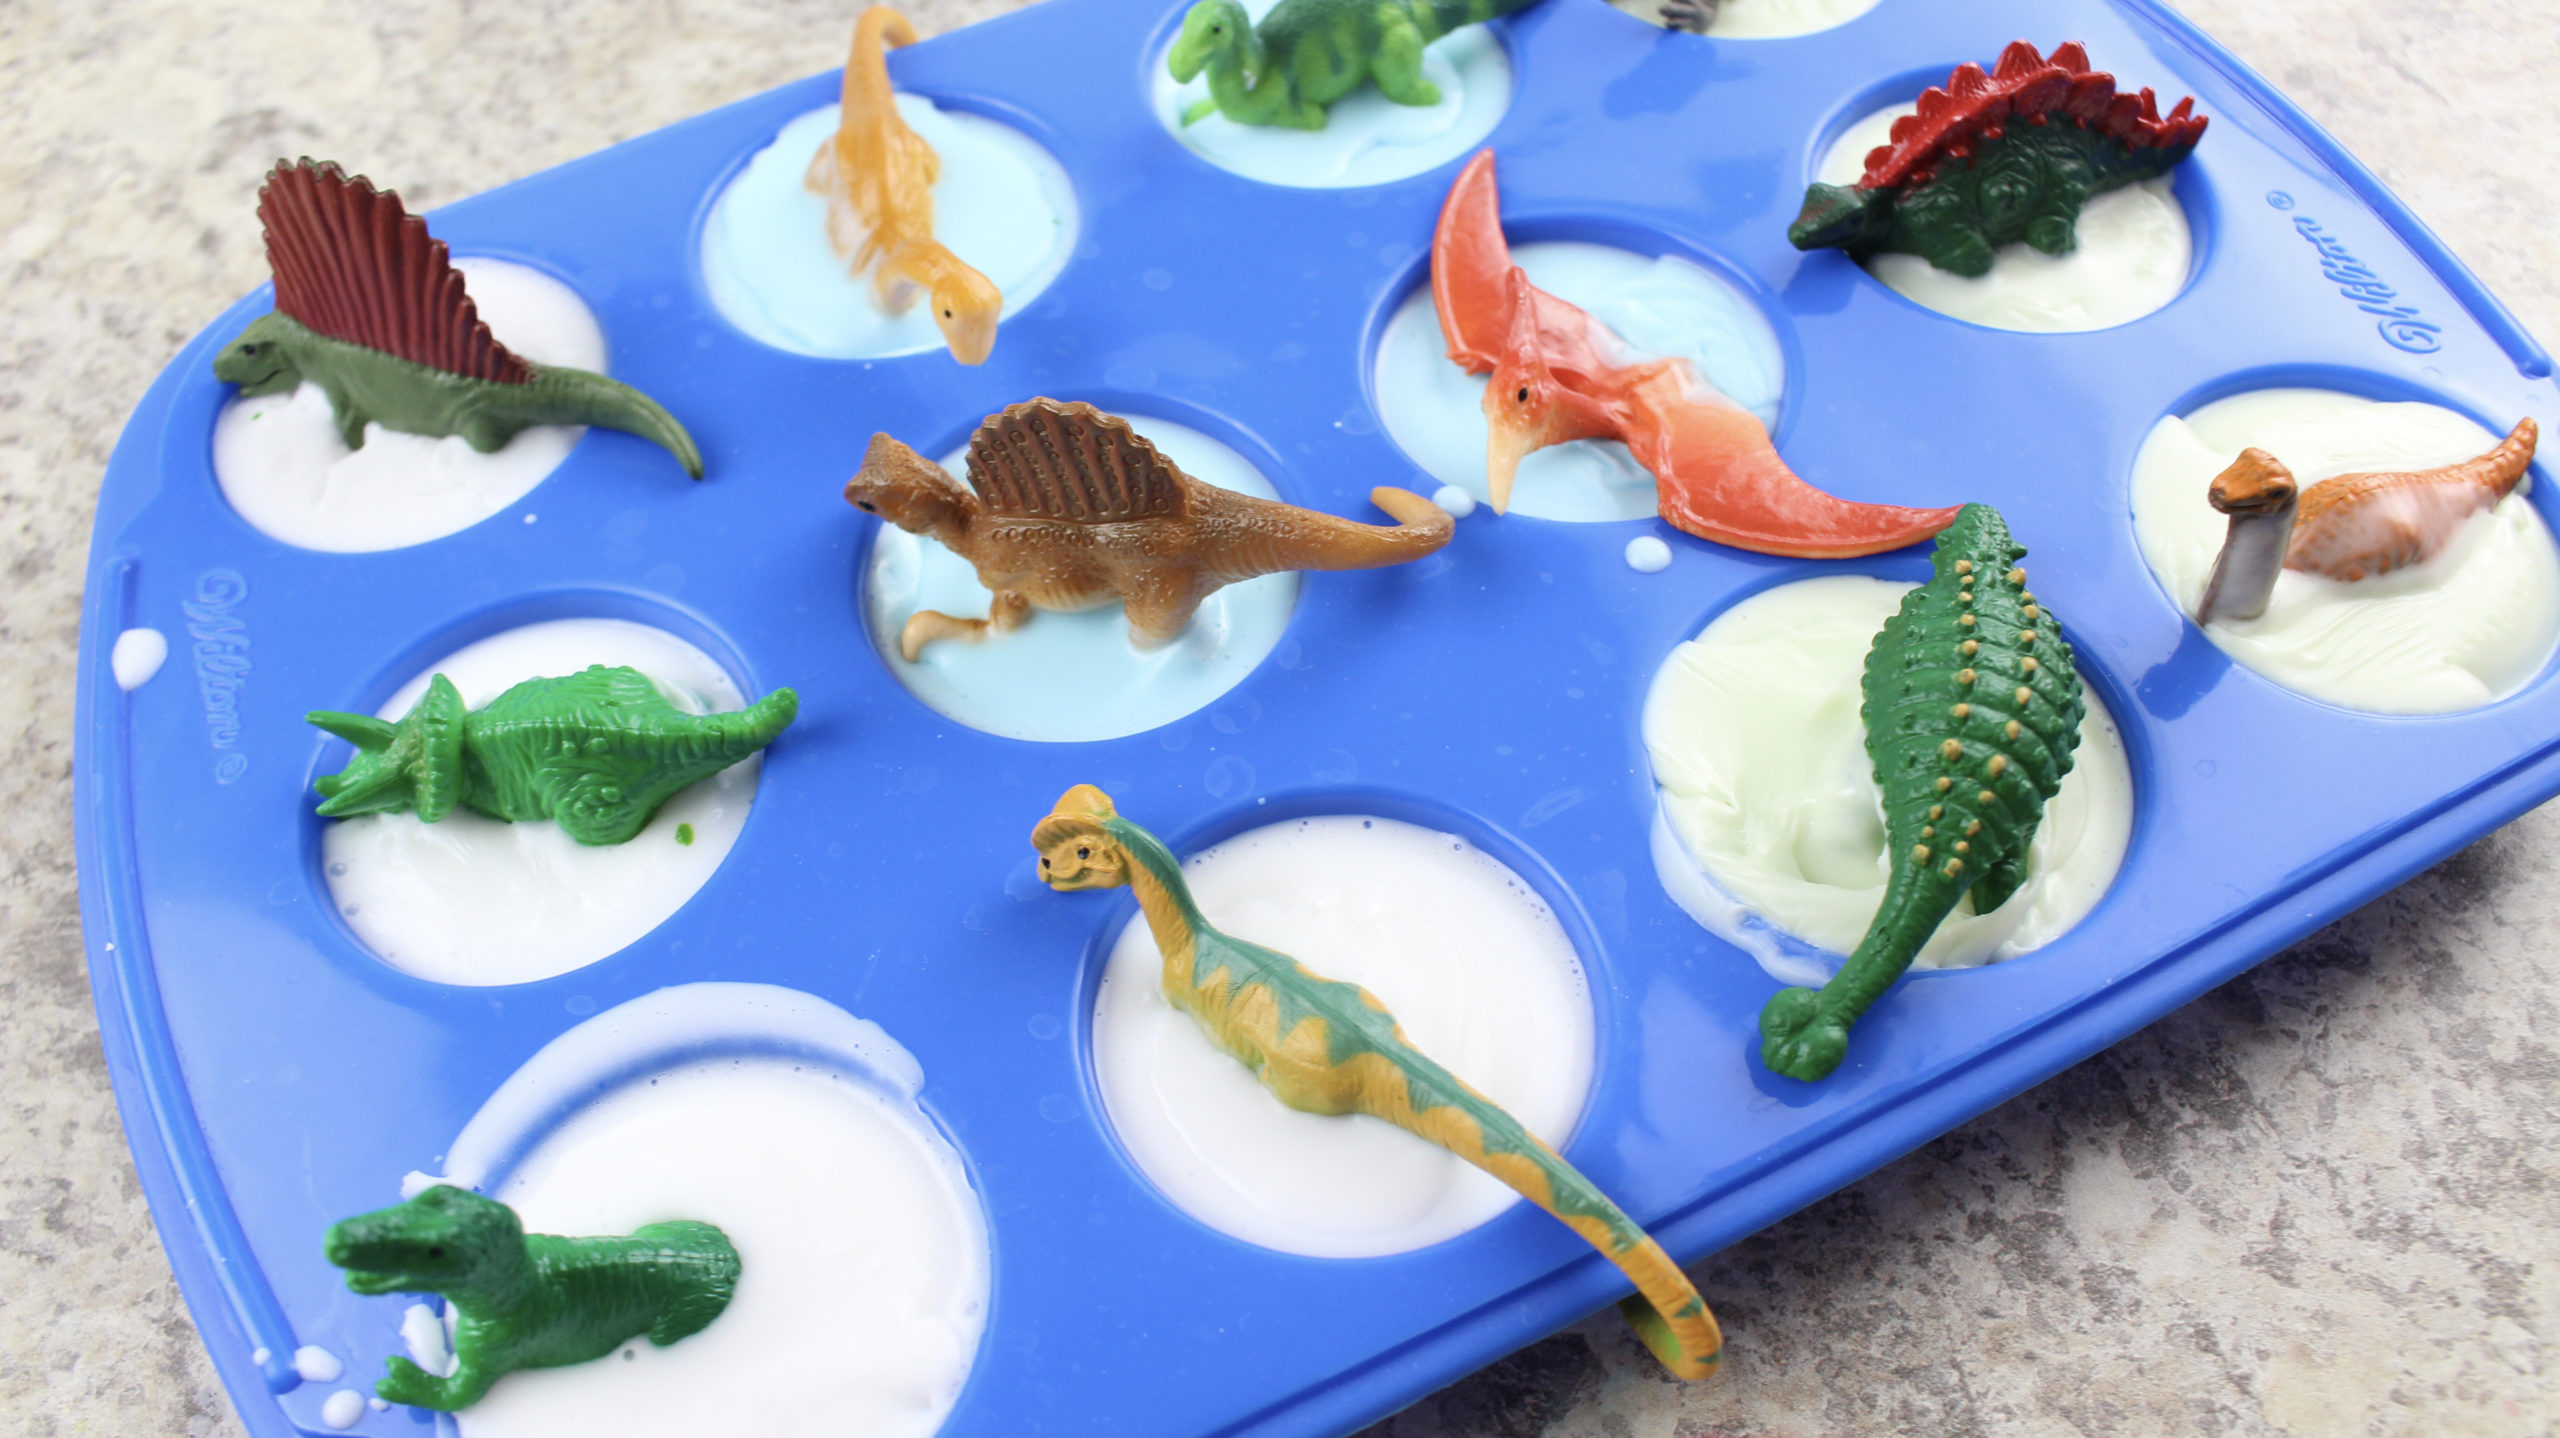
1) What do you think will happen when we set the soap in the molds aside? (It will cool and get hard.)
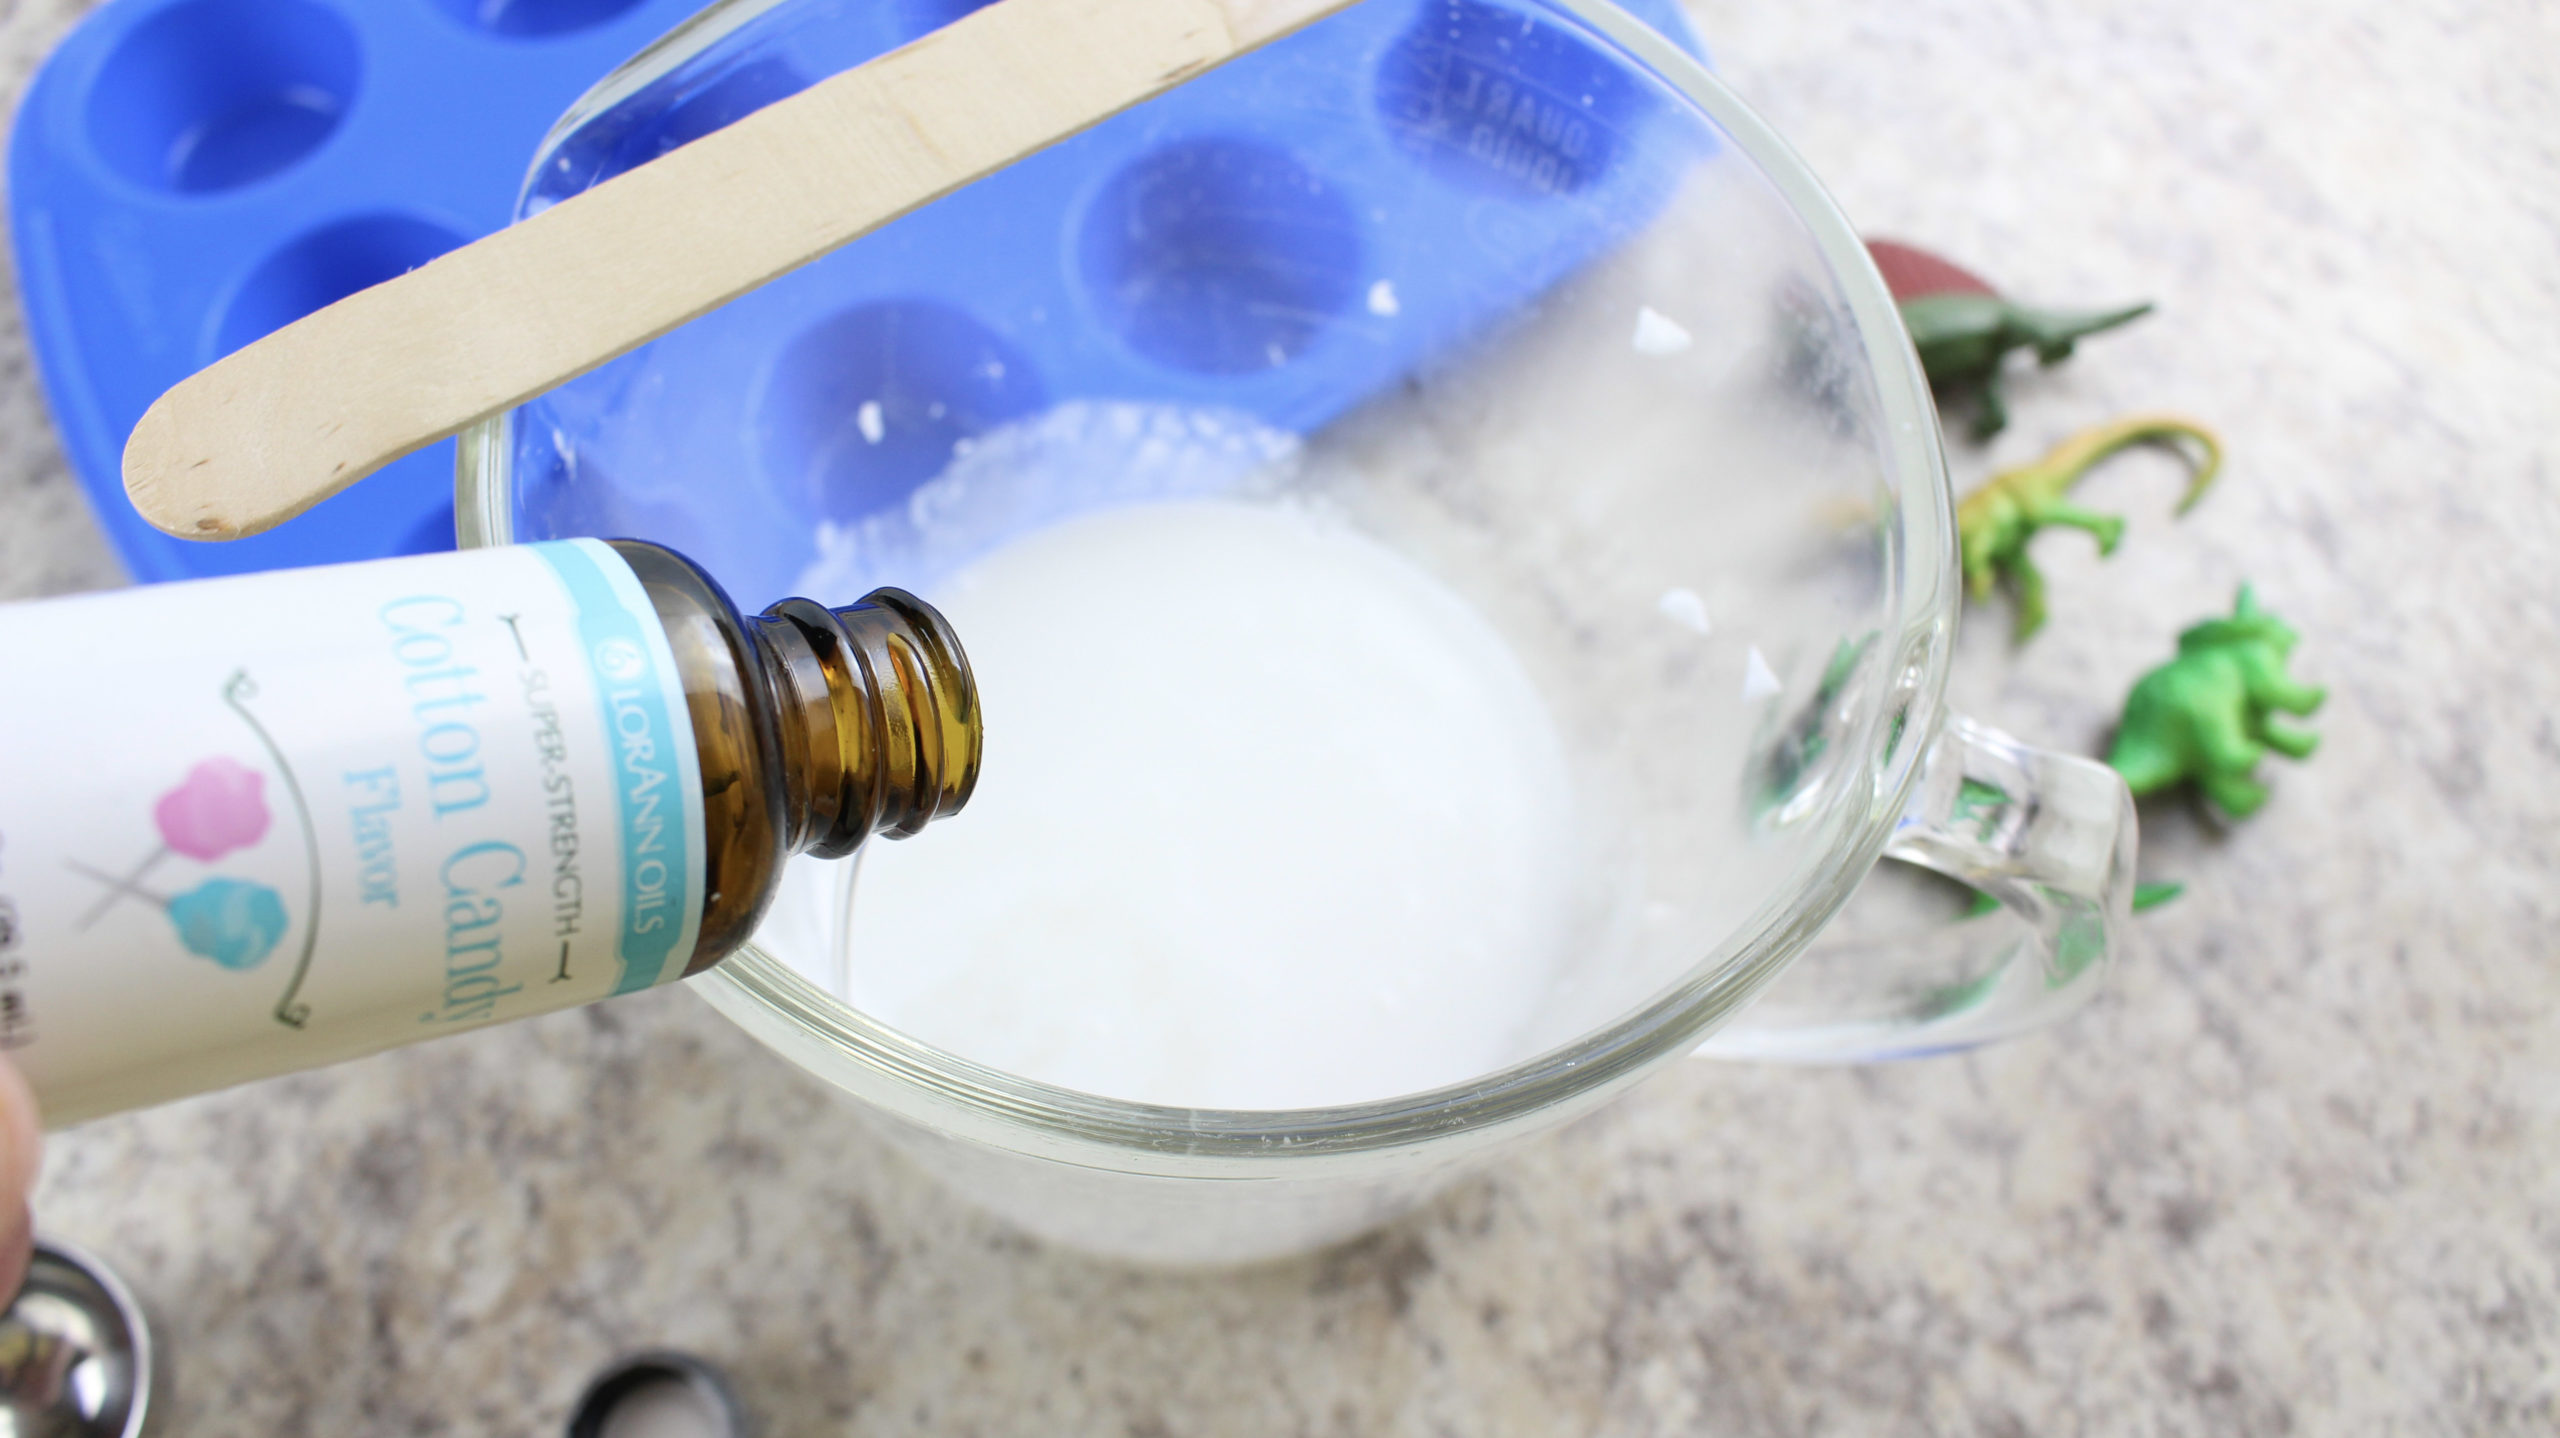
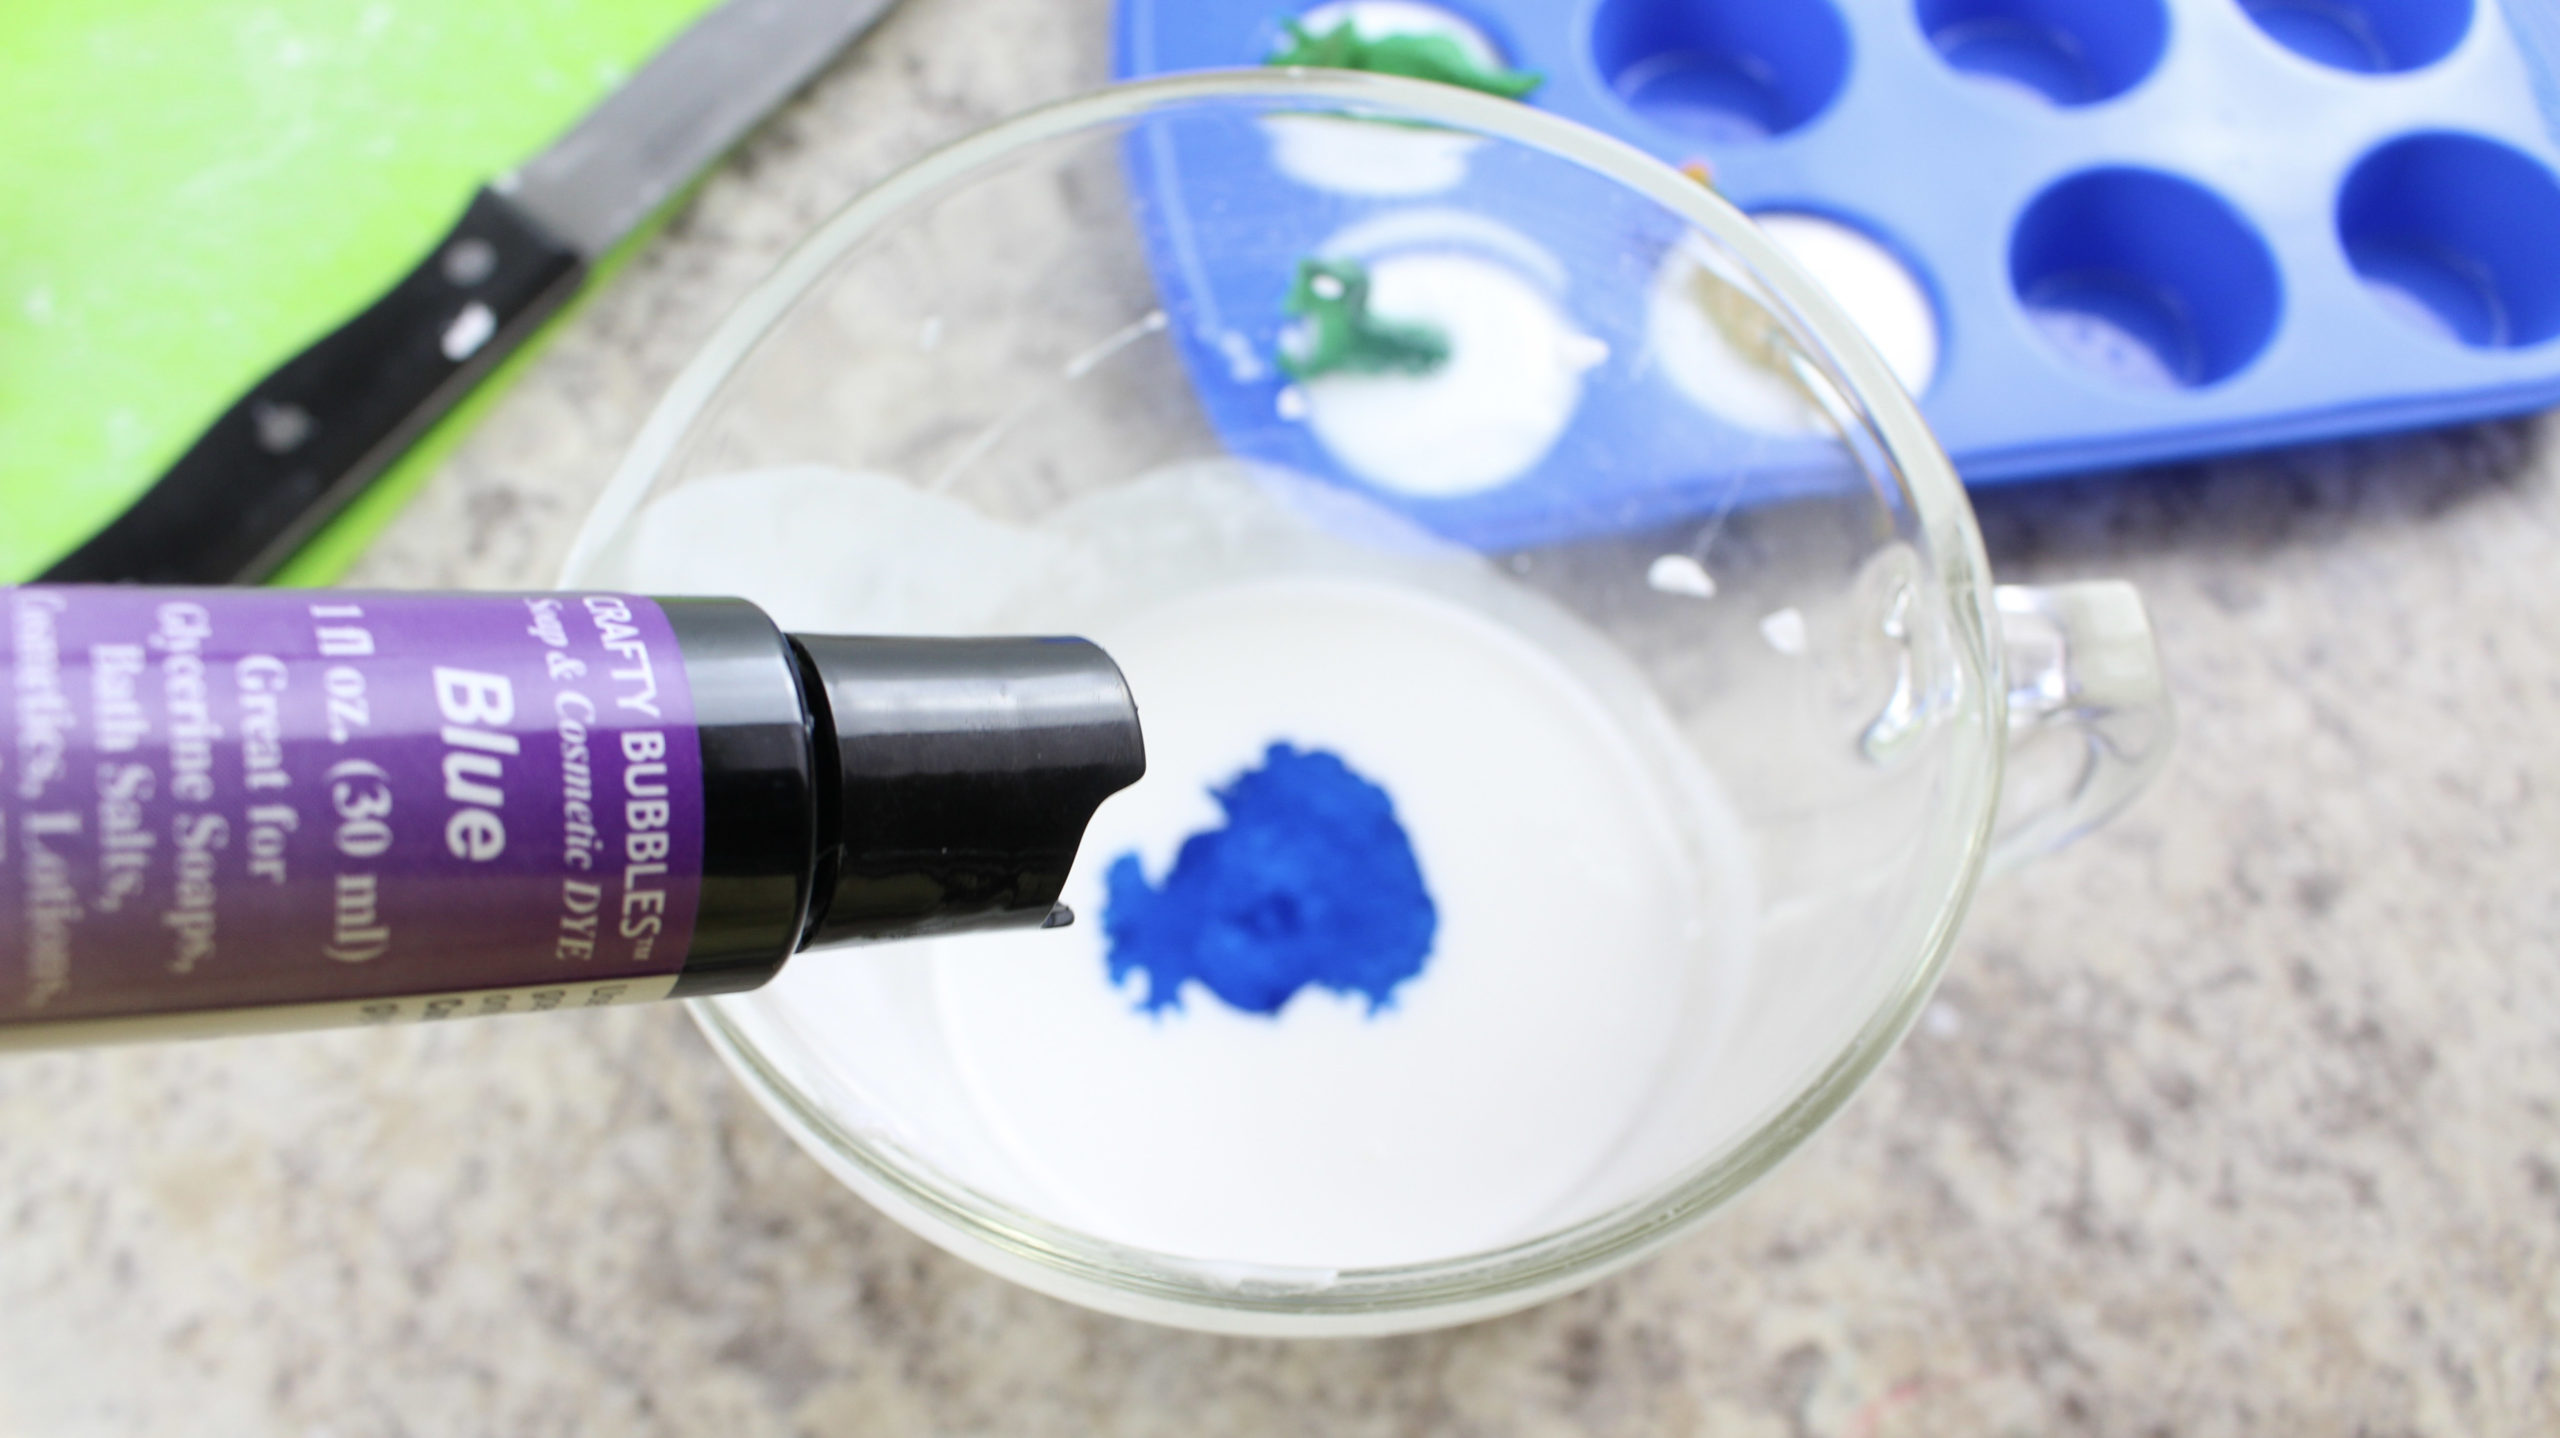
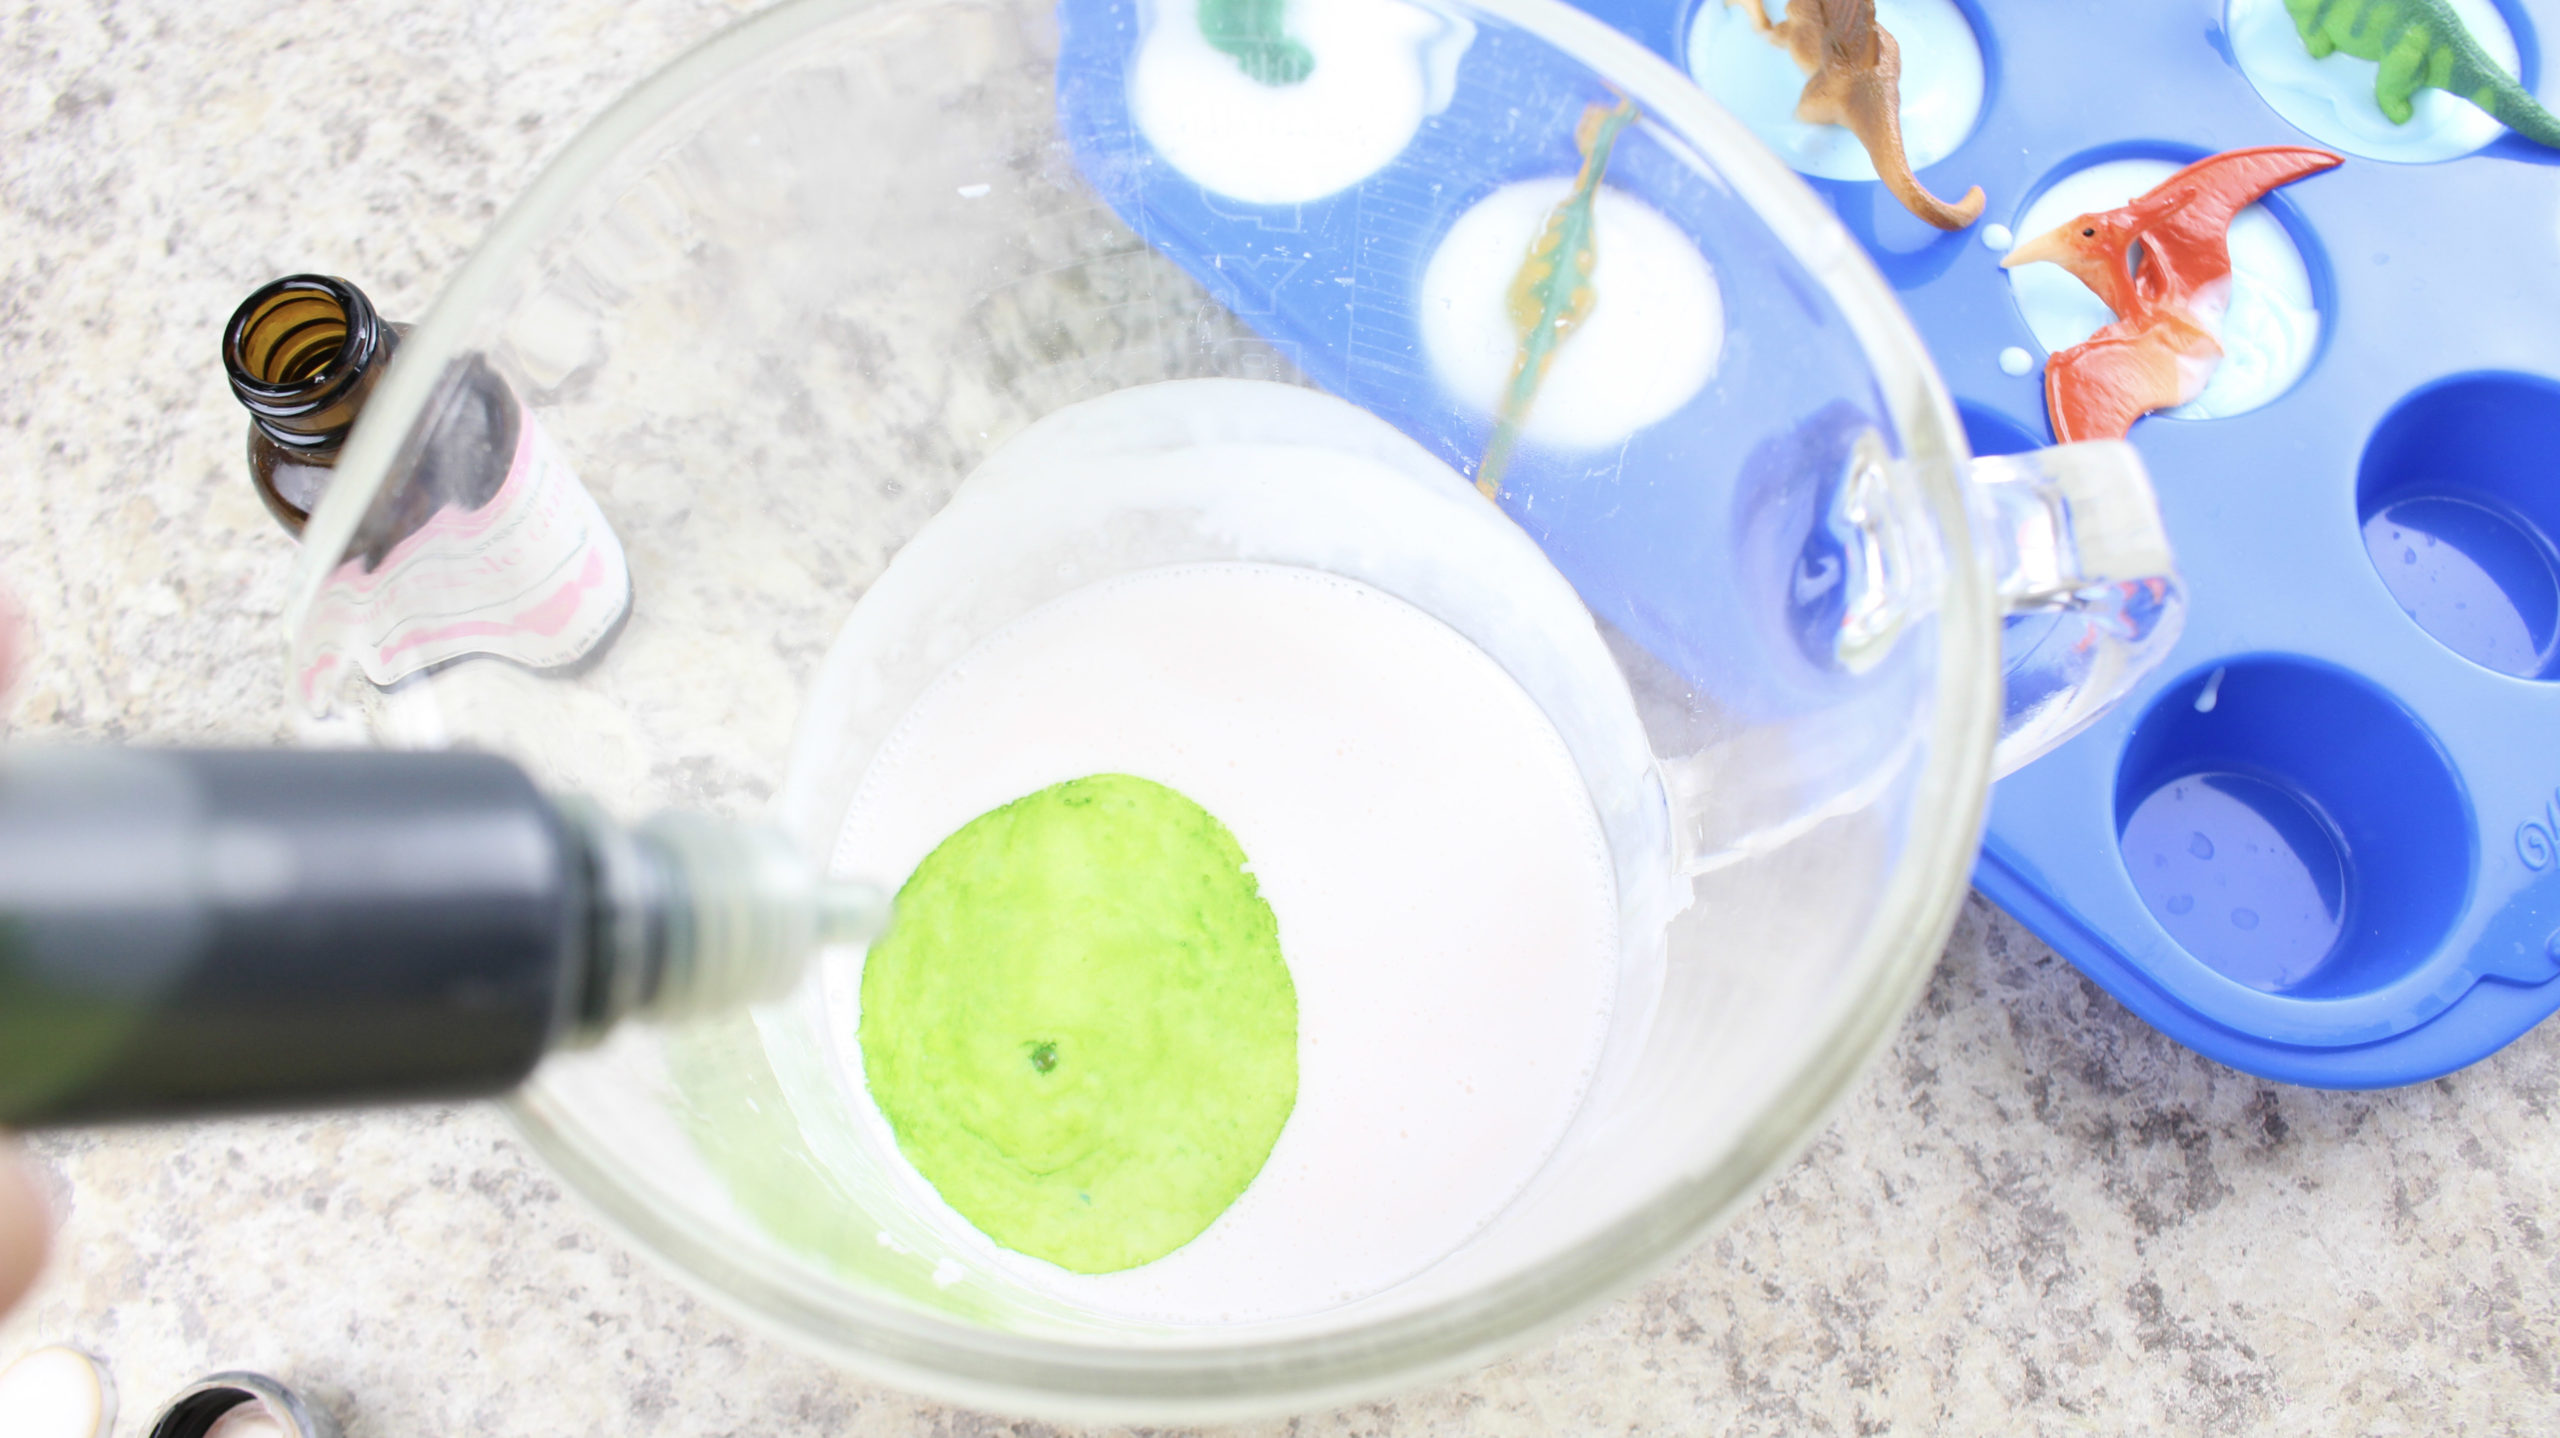
2) Mix colors of soap colorant. (What will happen if we mix blue and yellow?)
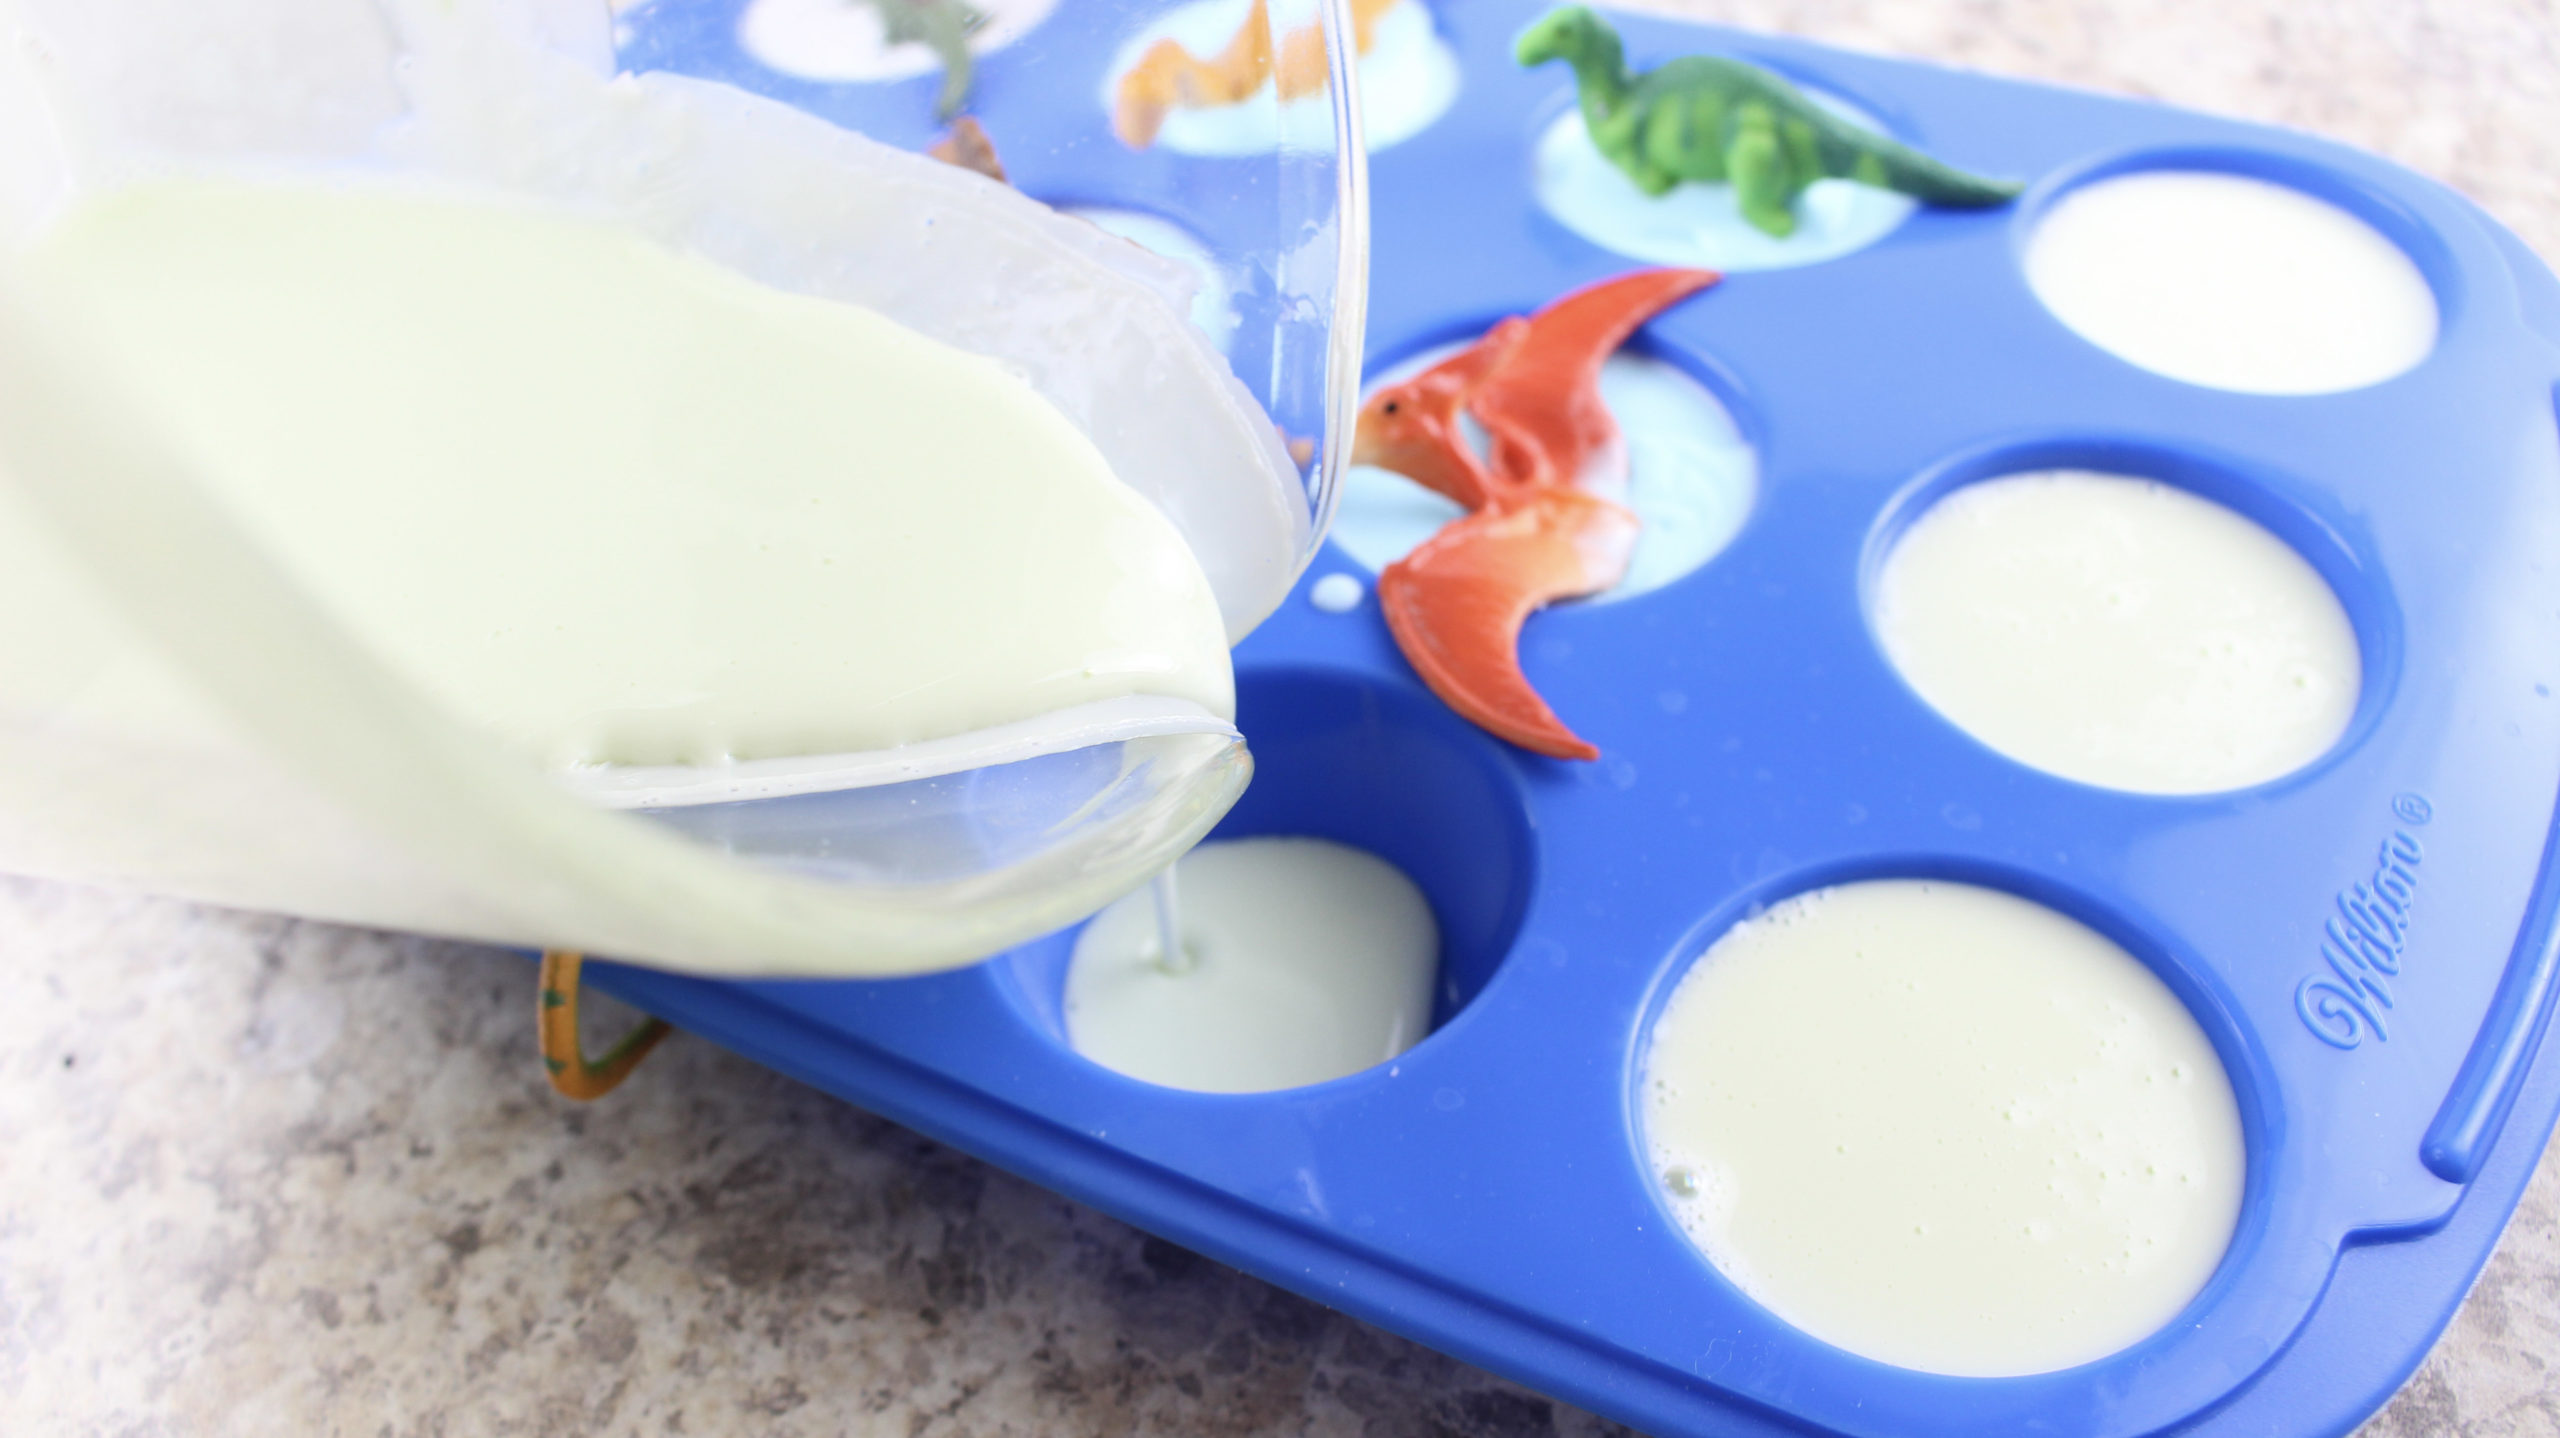
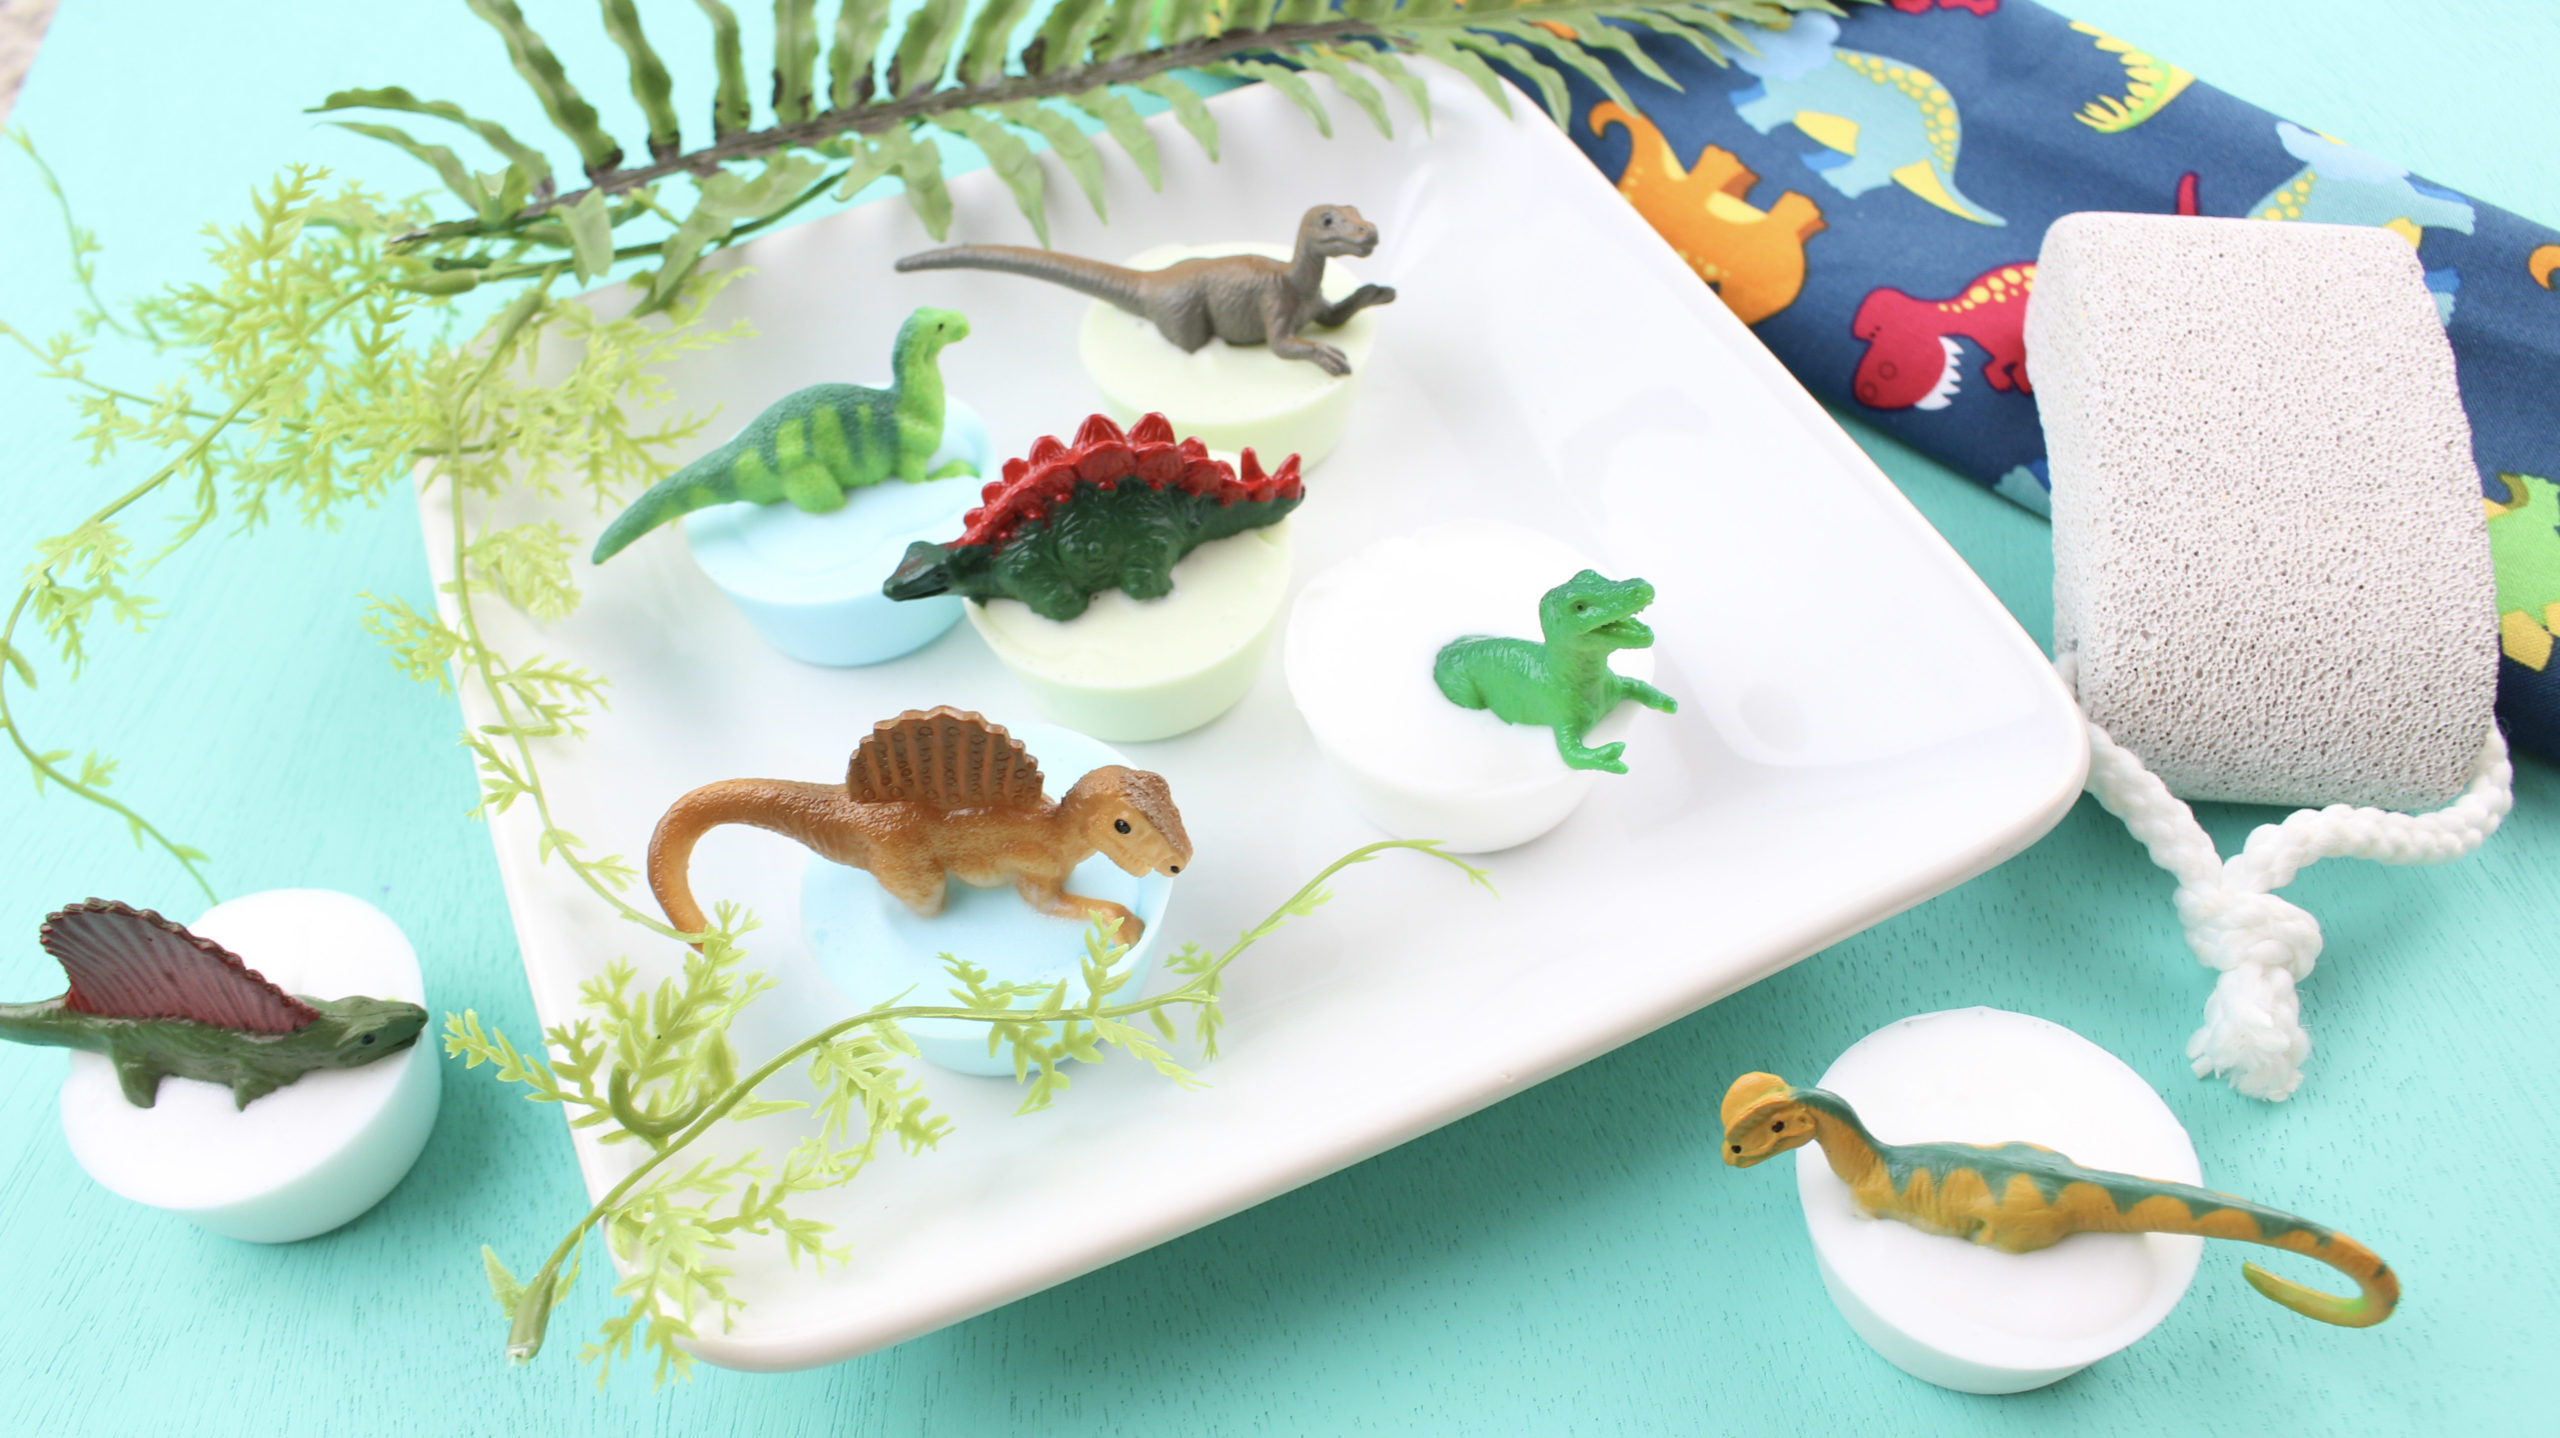
3) Does the finished product look like the photo? If not, what do you think we could have done differently.
 
Any time you follow a recipe, you’re using executive function skills. In the new ‘Train Model of Executive Function” we discuss the importance of the ‘map’ or direction list. Then, as we follow the recipe, we work on attention to task, impulse control, and self-regulation. This is because kids need to stick to the soap making and not become distracted by other competing interests or distractions. 
 

SUPPLIES NEEDED 

  • 12 count silicone mini muffin mold (Amazon link below)
  • Melt and pour shea butter soap
  • 12 toy dinosaurs (Amazon link below)
  • Your favorite soap scent (I used cotton candy and bubble gum)
  • Soap colorant (I used blue and green)
  • Wooden craft stick


DIRECTIONS 

1.   Cut about 15 ice cube sized pieces off from the shea butter base block **Adults part OR closely supervise children. Shred or cut the soap into even smaller pieces to make it easier to melt. Place 1/3 of the soap in a microwave safe bowl or large glass Pyrex measuring cup.


2.  Microwave for 30 seconds or until the shea soap is completely melted.  Remove from microwave.  (As always, be careful when handling hot items)  Add your favorite soap scent (I used cotton candy fragrance oil ) and stir with a wooden craft stick to incorporate.


3.   Immediately pour the melted soap into 4 of the mini muffin molds, filling almost to the top of each mold. Place a dinosaur into each mold filled with soap. Set aside to harden while you made the next batch of soap.


4.   Microwave 1/2 of the remaining soap for 30 seconds or until completely melted.  Add your favorite soap scent (I used cotton candy) and stir with a craft stick.  Add a few drops of blue soap colorant and stir again.


5.   Pour the melted blue soap into 4 of the silicone molds.  Place a dinosaur into each mold and set aside to harden.


Looking for more information on Executive Function and the new – strengths-based Train Model? Check out our new, AOTA approved course!


6.   Microwave the remaining shea butter soap for 30 seconds or until melted.  Add a soap scent, if desired (I used bubble gum fragrance oil) and stir well. Add 1-2 drops of green soap colorant and stir well.


7.   Pour the melted green soap into the remaining 4 silicone molds. Place a dinosaur into the melted soap. Chill the entire silicone mold for 2 hours to allow the soaps to completely harden.


8.  Once hardened, gently pop the mini soap bars  out of their molds and store in a cool, dry place until ready to use.  ENJOY!!
 
This will make 12 Dinosaur Soap Molds, so you will have plenty to last you a while!


THINGS TO THINK ABOUT

This is a great chance to work on your child’s olfactory sense by letting them explore different scents to mix in with the soap.  They can have fun trying to guess the scents before you show them what they are.  If you’d like to help them associate smell with an item, you can try letting them see/taste/touch the real thing before they smell the oils.  For example, let them chew a piece of bubble gum before they smell the bubble gum scent.  (Be sure that they understand the oils and soaps are not for eating)  You can do this activity with any colors you like, so feel free to mix it up!  Try letting your child use only one soap mold at a time, because then they will wash up really well to hurry on to the next one!
 
As always, I love to see your projects and hear how they went.  Please leave a comment or send me a pic of your creations!
 
 
Looking for more crafts and activities for kids? Read my earlier post here about how to dye rice for sensory play.


Retained Reflexes Course – Brain & Sensory Foundations

Do you worry that you could be missing something in your approach to therapy? Do you wish you could have a bigger impact in a shorter amount of time? Do you want a step-by-step system that is tested, proven, and supported by evidence?

Cara’s Bestselling Book

Many people struggle with sensory processing difficulties. Regulating emotions, knowing when to eat, drink, go to the toilet, and feeling your breathing and heart rate all depend on our internal awareness.

Related Posts

Search
Close this search box.
© Copyright 2024 The Pocket OT. All rights reserved.
Play Video