Let’s face it: Kids like slime. They can shape it, squeeze it and squish it. The good news is, not all slime is messy. This week, I found a wonderful, reusable activity that lets children explore their tactile senses with slime, without making a mess in the process!

● 1 5 oz container clear glue
● 1 cup hot water
● ⅓ tsp borax
● ¼ cup room temperature water
● 1 package Perler beads
1. In a container, pour 1 cup of hot water.
2. Add ⅓ tsp of borax and mix well.
3. In a second bowl or container, fill with ¼ cup room temperature water.
4. Squeeze an entire bottle (5 oz) of clear glue.
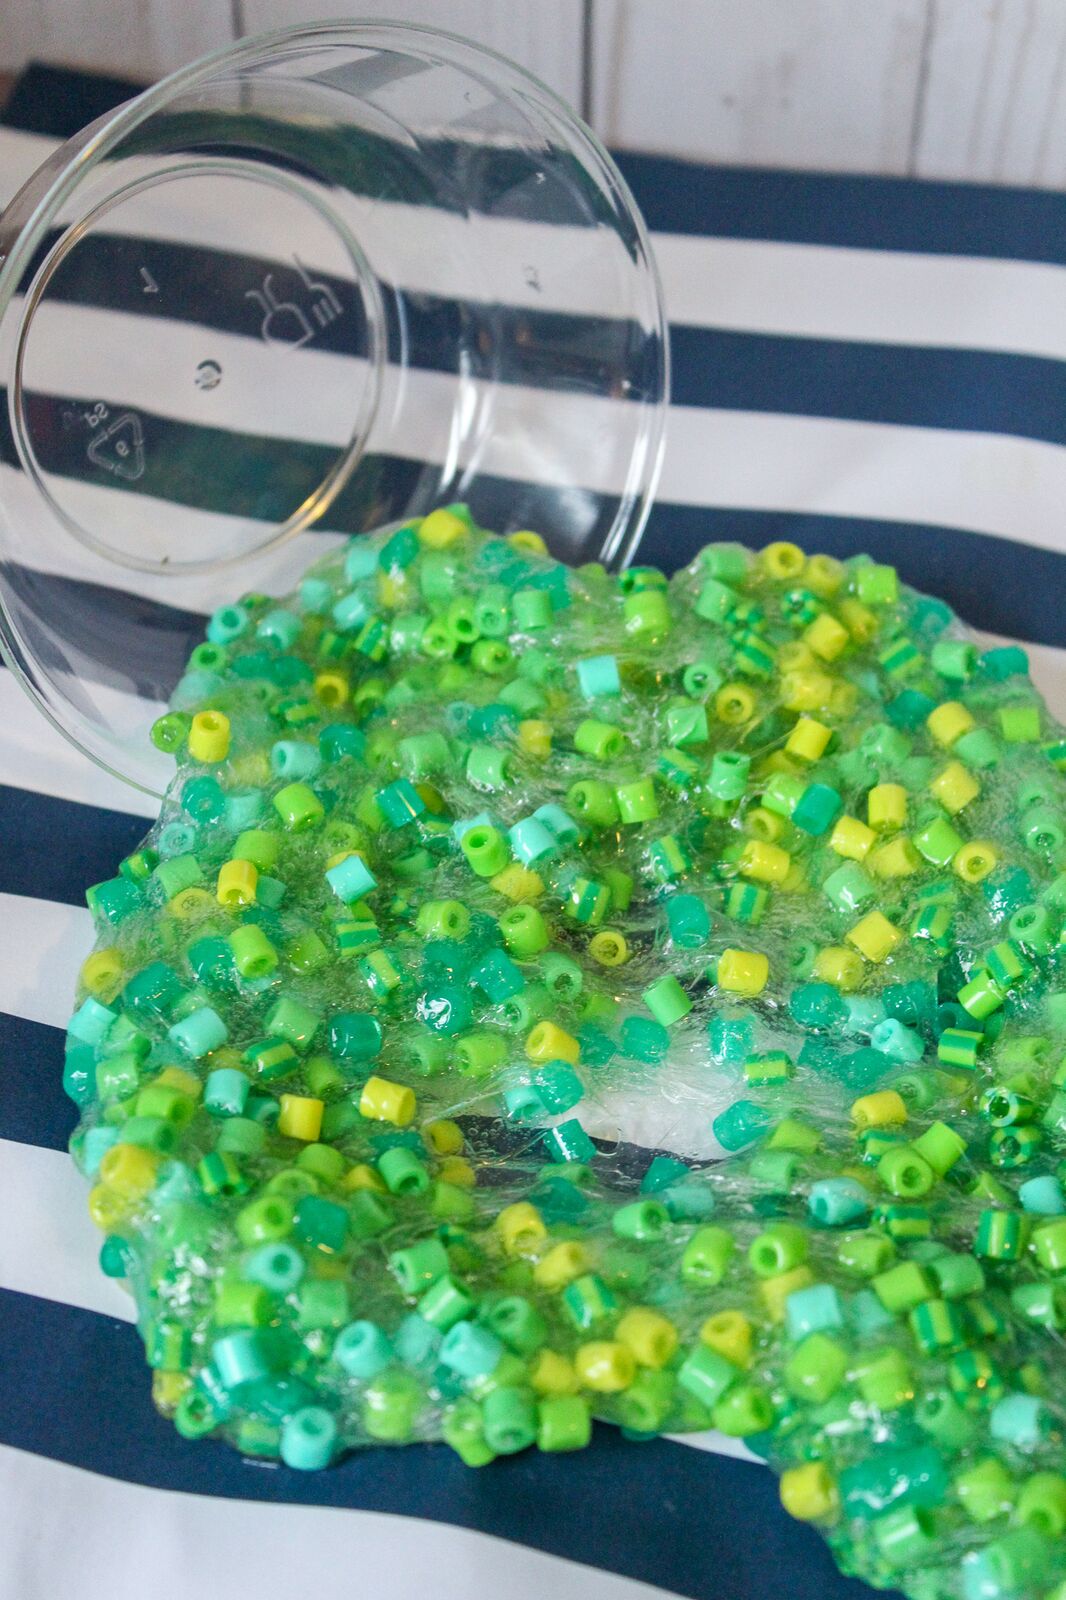
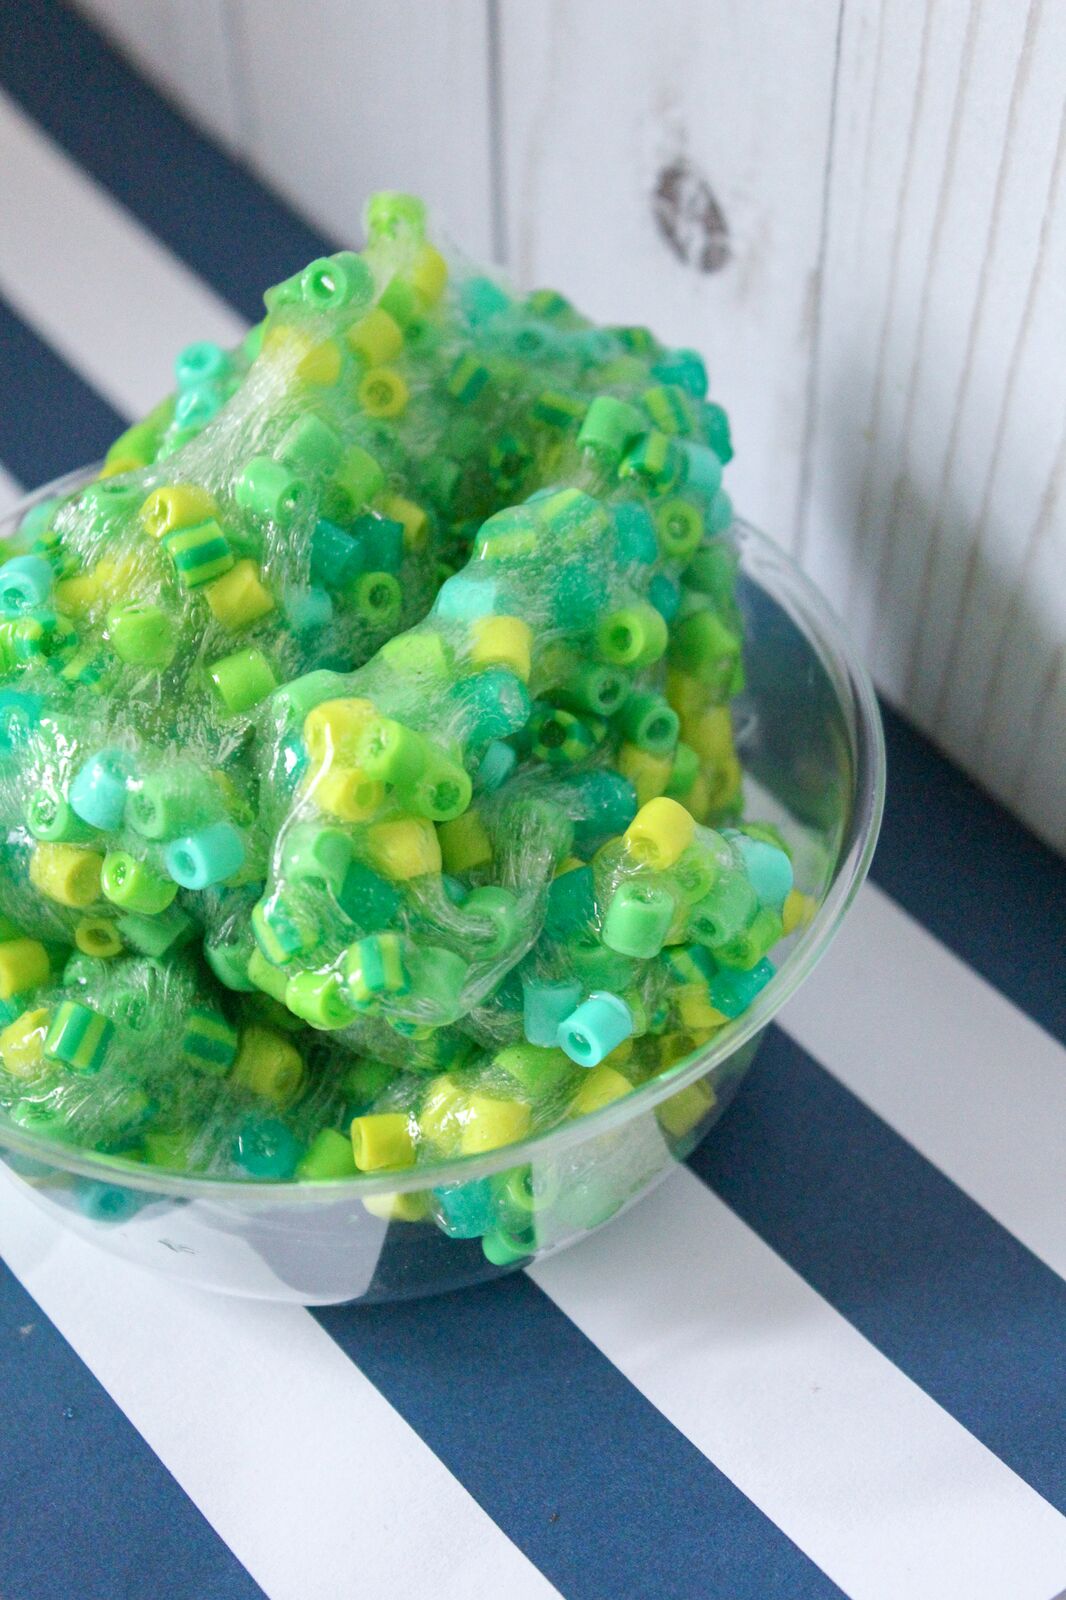
5. Pour in your Perler beads. We used about ¾ of a bag. There are so many different color combinations you can add! They have glitter ones or glow in the dark ones too.
6. If you want to use glitter you can add some. Mix well.
7. Pour your entire water/glue bowl into the first bowl of borax and water. You will immediately see the slime begin to form.
8. Let it sit for about 30 seconds to a minute and wipe out your empty bowl.
9. Pick up your slime from the water and borax solution and transfer it to your empty bowl. It will be sticky at first! That’s ok! Knead it and it will thicken up and finish forming. If your slime is still way too sticky, splash a bit of the borax water on it and continue to knead.
10. Store in an airtight container.
Join our AOTA Approved for 6 hours of PDUs Pediatric OT Primer Course.

This is also a terrific exercise for grasp development, and working with kids on using their dominant hands and their helper hands (bilateral integration).
Kids will get excited about the different colored beads you can use, so let them get creative! This is a terrific exercise for working with their hands and even grasp development! Once your slime is ready to use, you can take advantage of a learning opportunity and have them mold the slime into different shapes. If you get really good at it, play a game where you get to guess what they’ve made and vice versa. You know I love to hear about your adventures, so please leave me a comment or send me a pic of your final product!